There are a couple of online database options you can choose from. If you subscribed to Web Hosting such as Bluehost, web hosting provider usually offers access to MySQL database. If you are using AWS, AWS has a couple of database offerings as well such as RDS and DynamoDB. From Google, there is a free tier plan offering such as Firebase. In this post, we will cover how to setup a database using Firebase.

Table of Contents
What is Firebase
Firebase is a mobile and web application development platform developed by Firebase. (This is now part of Google). It provides several services such as Cloud Firestore, ML Kit, Cloud Function and so on. Please check their website for more details on this.
What is Cloud Firestore
Firestore is essentially a cloud hosted NoSQL database. It stores and syncs data between users and devices – at global scale – using a cloud-hosted, NoSQL database. Cloud Firestore gives you live synchronization and offline support along with efficient data queries. Its integration with other Firebase products enables you to build truly serverless apps.
In this post, we will be focusing on how to setup the Firebase project and setup the Firestore database.
How to Setup the Firebase Account
Get Started
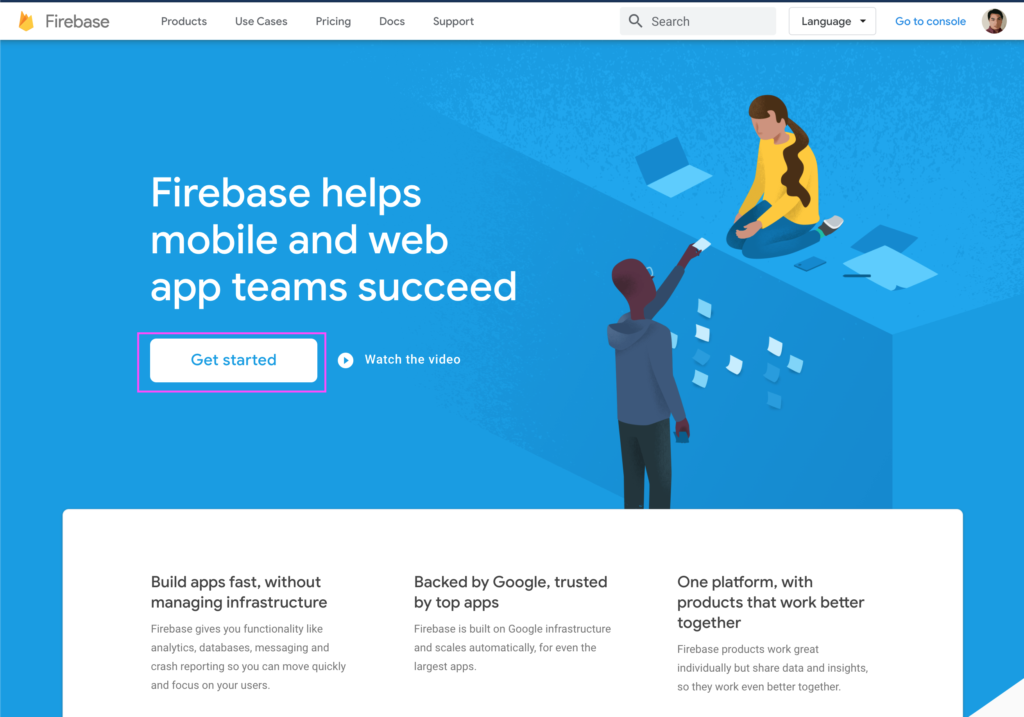
Go to https://firebase.google.com/ and click Get Started. (I would recommend setting up a gmail account first as Firebase uses Google account)
Create Your Firebase Project
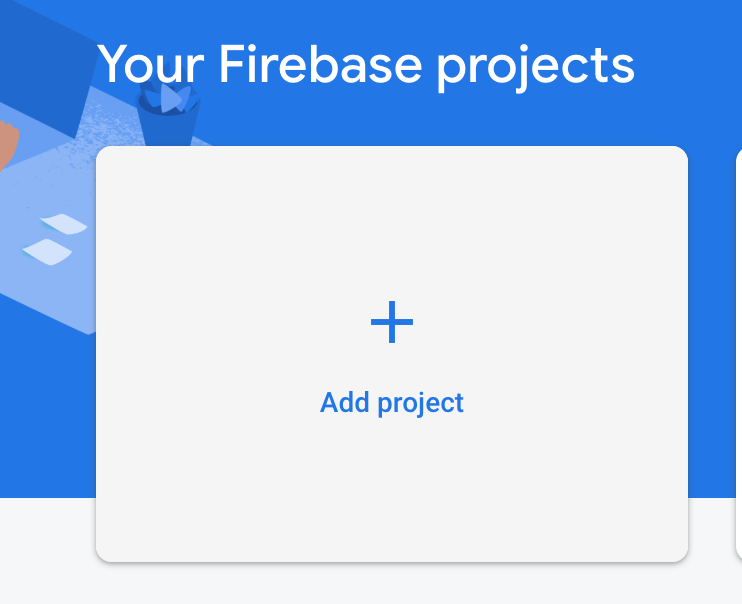
Once you are logged in to Firebase, next is to create a project. Go ahead and select Add Project.
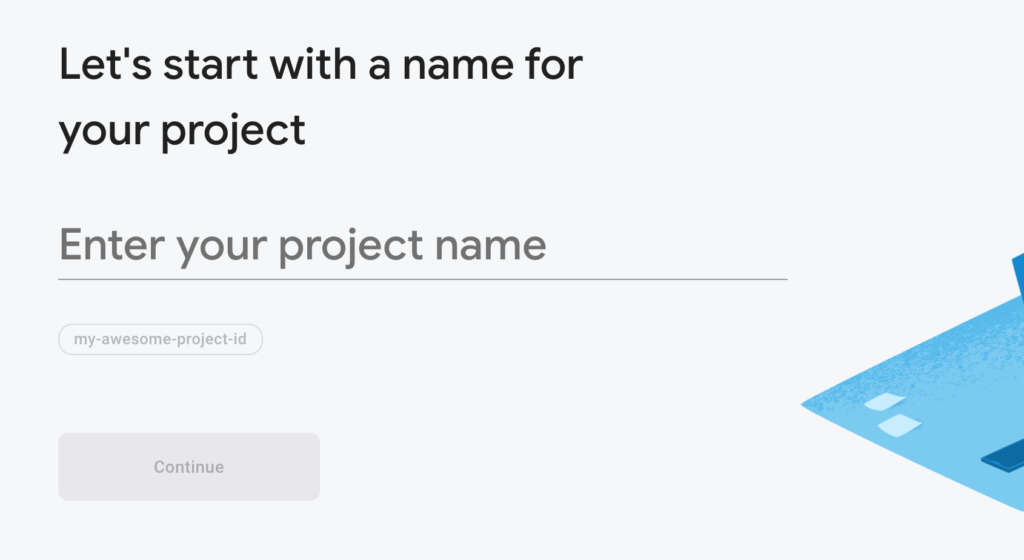
Assign some name for your project and follow the on-screen guides.
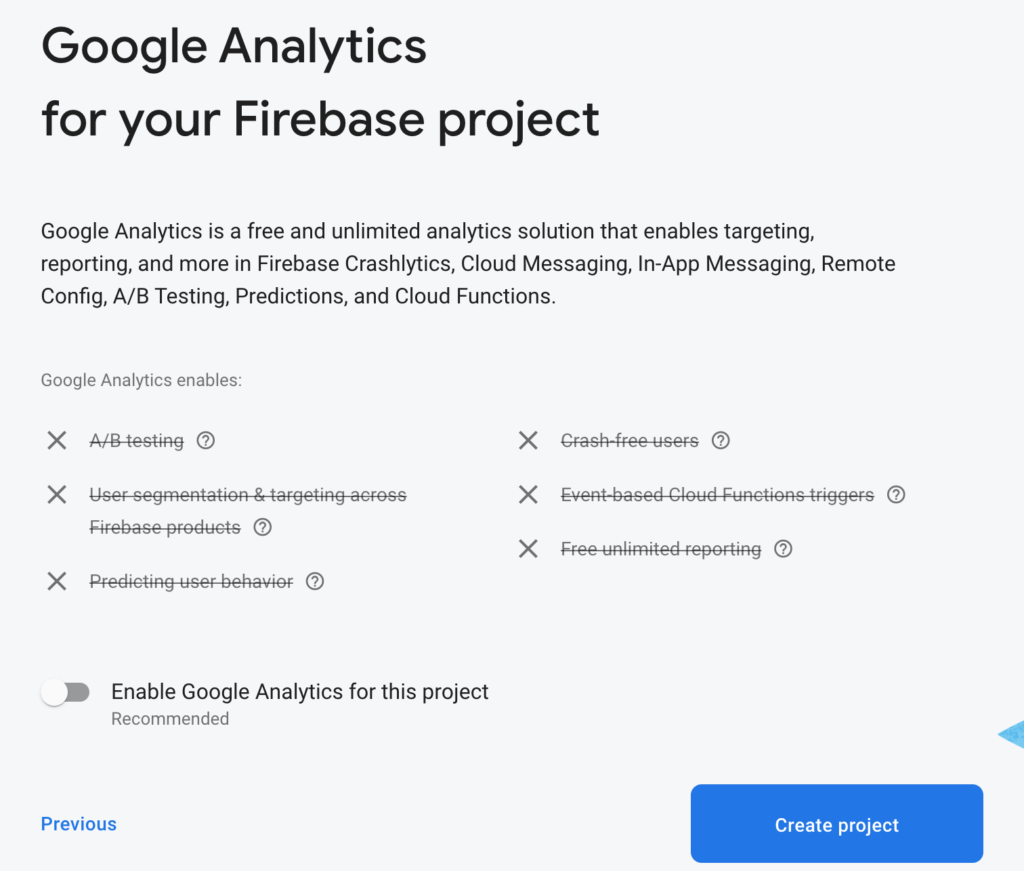
You can enable the Google Analytics but you can disable for now if you just want to try out the service.
Setting up Private Key file
Next is to setup a private key. This key will be needed once you start coding and if you want to access to your Firebase database. (Accessing from Python to Firebase will be covered in separate post)
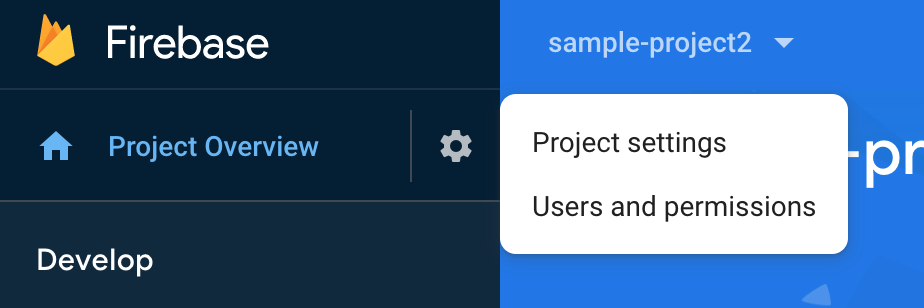
Go to Project Settings. Select the gear icon next to Project Overview. And select Project settings.
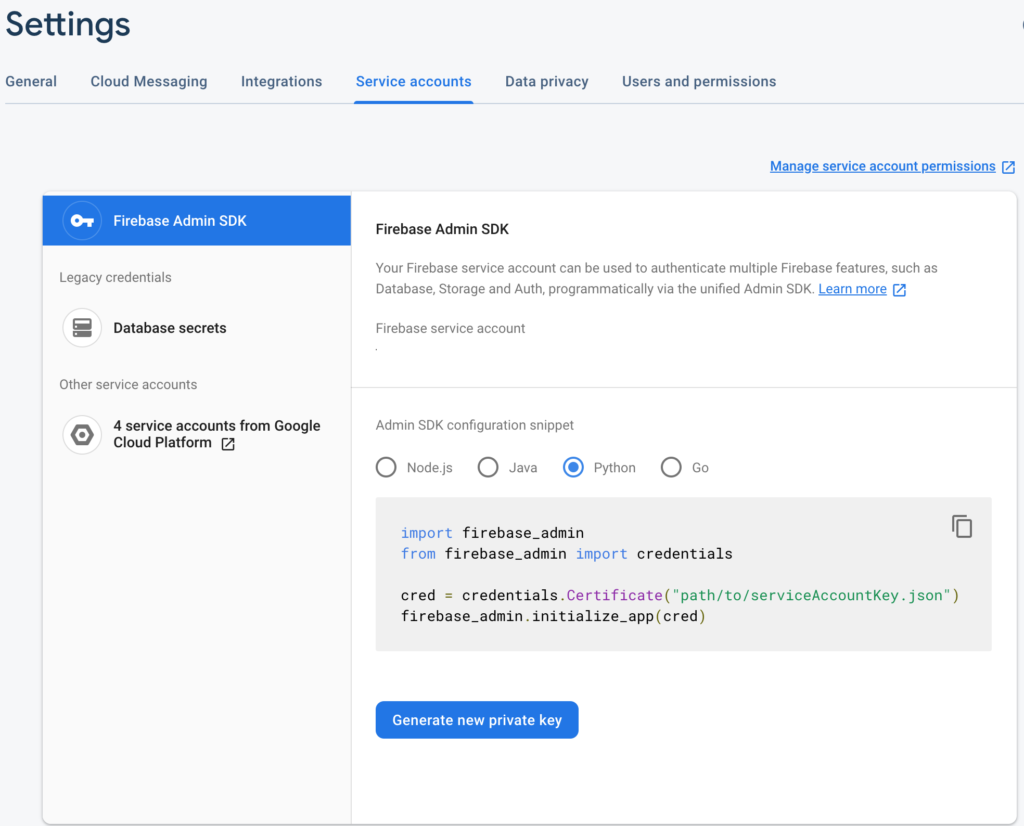
Go to Service accounts section and click Generate new private key. This will let you download the JSON file. (You need to keep this file later when you code)
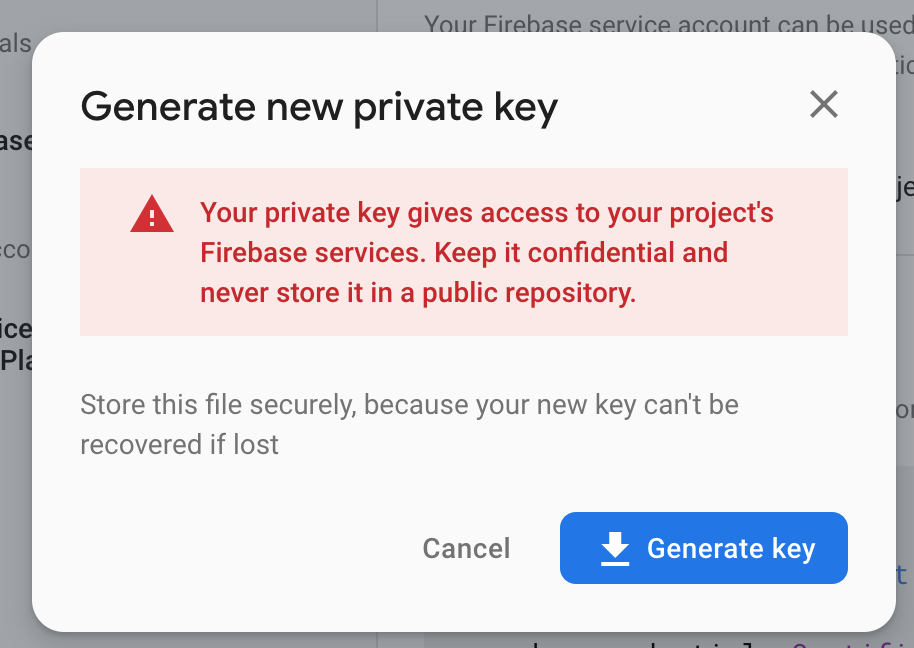
Click Generate key and save the JSON file in your local machine.
How to Create Cloud Firestore Database
Create a Database
Now you have the account setup and have it generated the Private Key, let’s proceed on creating a sample database using Cloud Firestore.
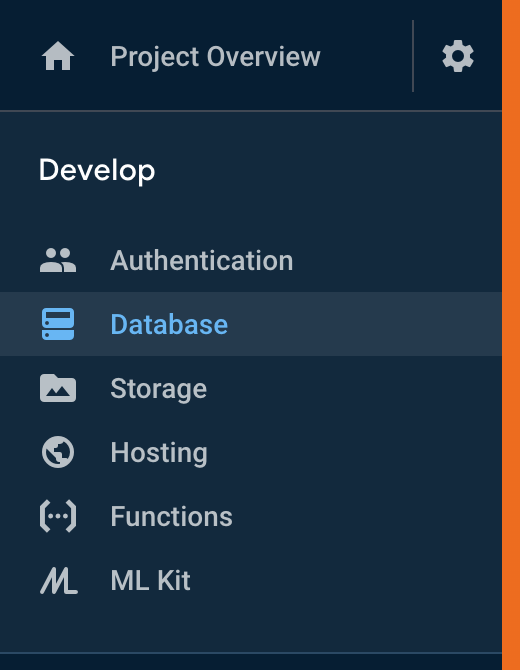
Go to Database from the sidebar menu as shown below.
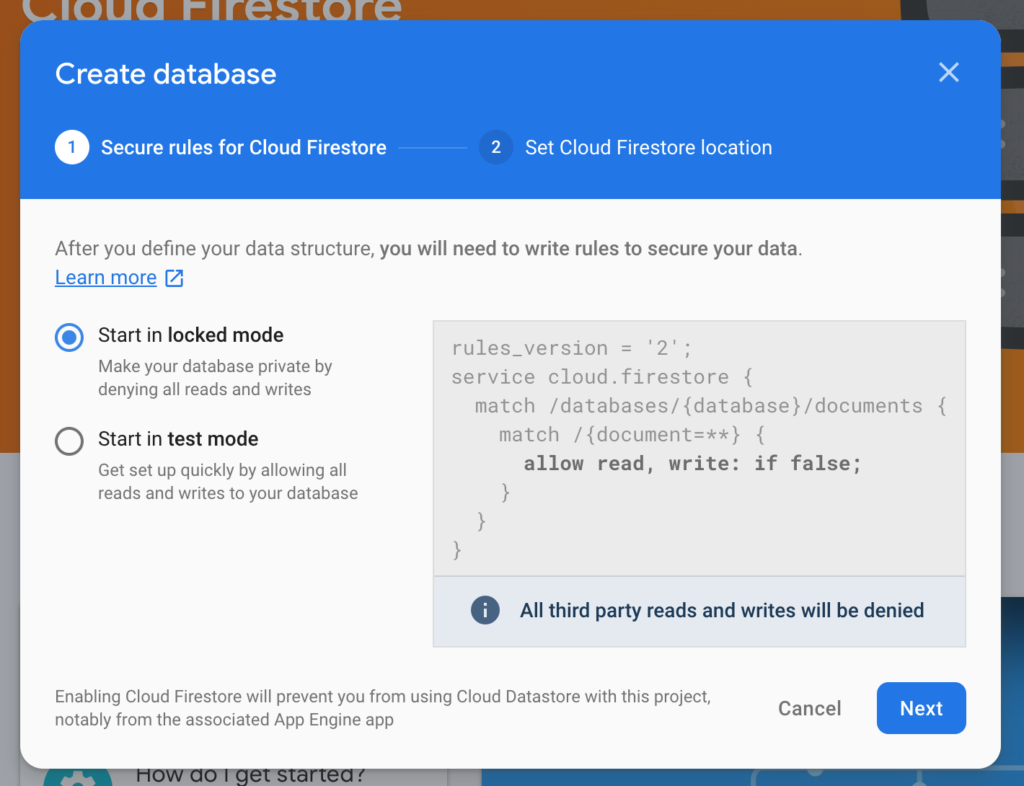
Click Create database

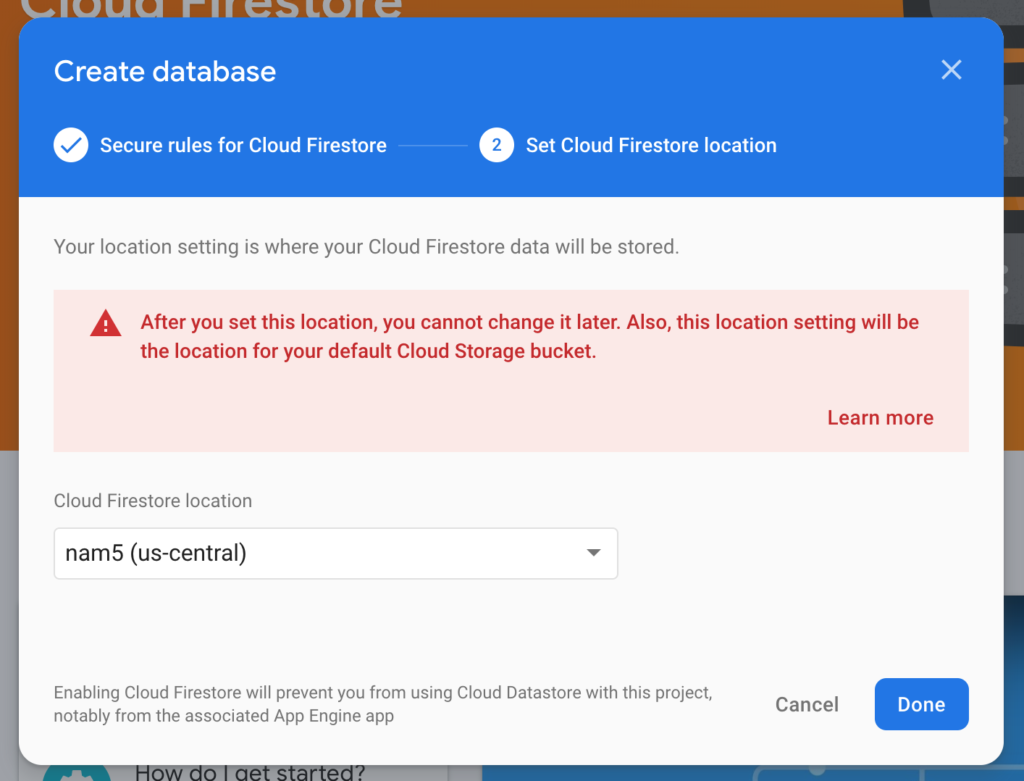
Follow the dialog box and complete the database creation process.
Create a Collection and Document
If you are interested to know what is Collection and Document, please refer to this official Firebase document for the meaning of Collection and Document.
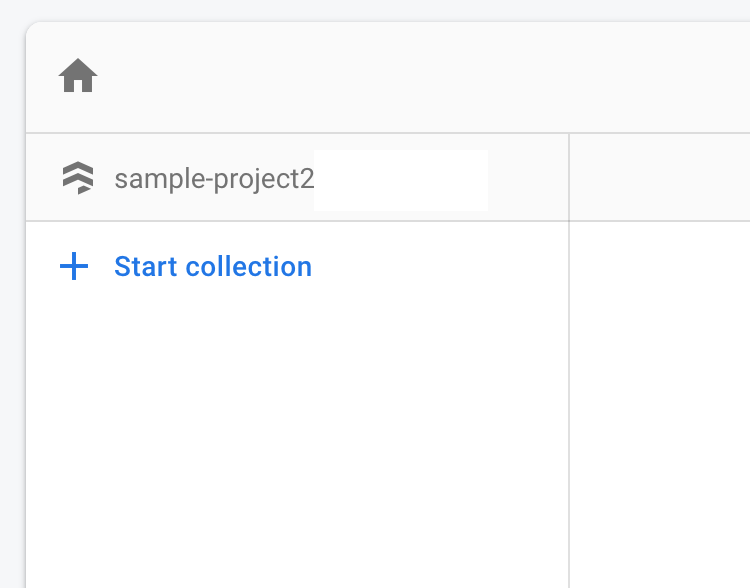
Click Start collection. This will create a new collection where you store all of your documents.
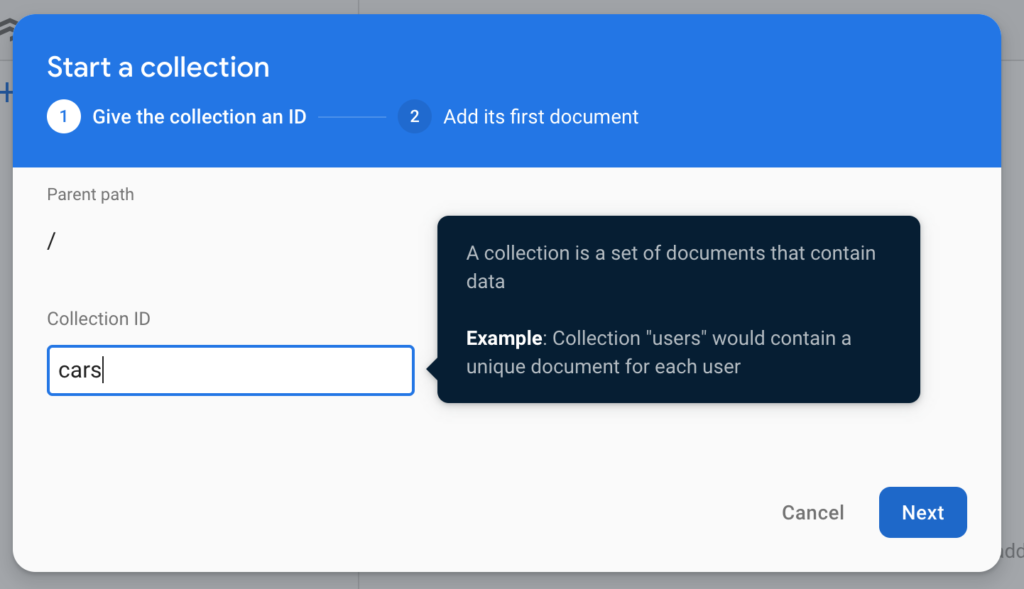
For this tutorial, let’s name the collection cars. You can name whatever is appropriate for your project.
Next is to add some document in the Collection. By default, Firebase’s document has auto-ID assigned for Document ID. Document needs to have some filed. Field is key:value pair. So add the entry something like below:
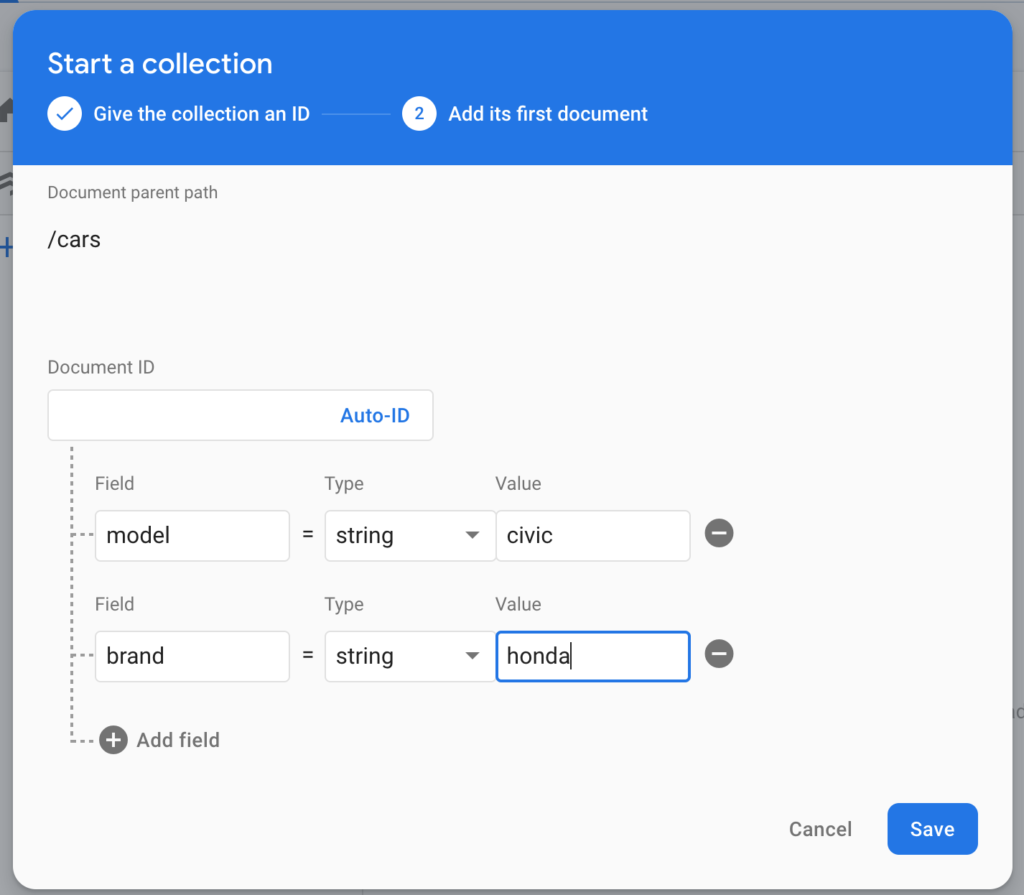
Let’s add couple more fields in the document. Now I have field of brand: "honda" and another field of model: "civic".

Wrap Up
That’s it! You now have Firebase and Cloud Firestore database setup. Next is check out how you can access your Cloud Firestore database using Python (How to access to Firebase Cloud Firestore Database using Python).
If you want to start blogging, check out Bluehost Web Hosting below.
Latest Post
- How to convert MD (markdown) file to PDF using Pandoc on macOS Ventura 13
- How to make MD (markdown) document
- How to Install Docker Desktop on mac M1 chip (Apple chip) macOS 12 Monterey
- How to install MySQL Workbench on macOS 12 Monterey mac M1 (2021)
- How to install MySQL Community Server on macOS 12 Monterey (2021)