Table of Contents
What is MySQL Workbench?
MySQL Workbench is a GUI tool to manage your database. You can see the tables, records in the table, you can create a new schema, query, etc.
If you are more of a visual person who needs to deal with databases (MySQL), MySQL Workbench is a very powerful and useful tool.
Before Installing the MySQL Workbench on macOS 12 Monterey
Before installing the MySQL Workbench, make sure you have access to the database. It is either Database in your local system or it could be a remote database in your hosting server or even a cloud database such as AWS RDS.
In this post, I will be using a local MySQL server as an example. Please check out “How to install MySQL Community Server on macOS 12 Monterey (2021)” on installing MySQL server on your Mac M1.
Installing MySQL Workbench (version 8.0.27) on macOS 12 Monterey
Go to https://dev.mysql.com/downloads/workbench/
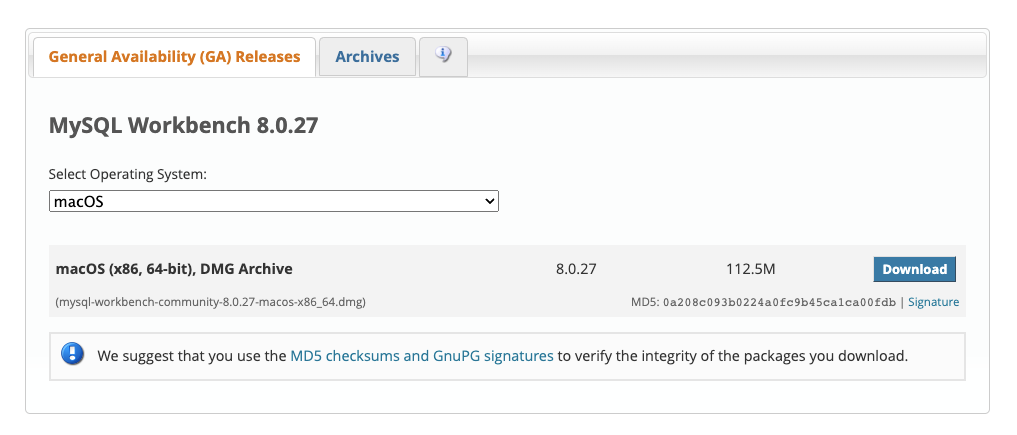
Click Download to get the DMG installer
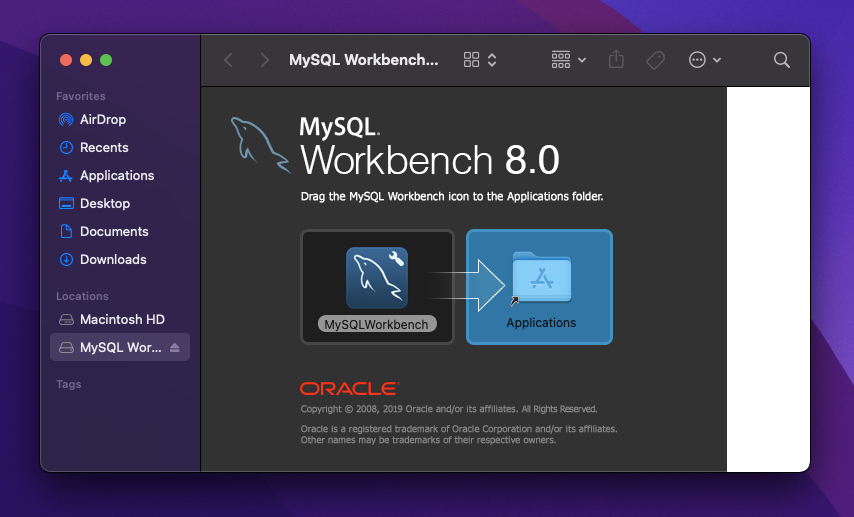
Once the Installer is downloaded, double click the installer. When you double-clicked, you should see the screen like below. Follow the instruction to drag the MySQL Workbench icon to the Application folder to complete the installation of MySQL Workbench into your system.
Launch the MySQL Workbench App
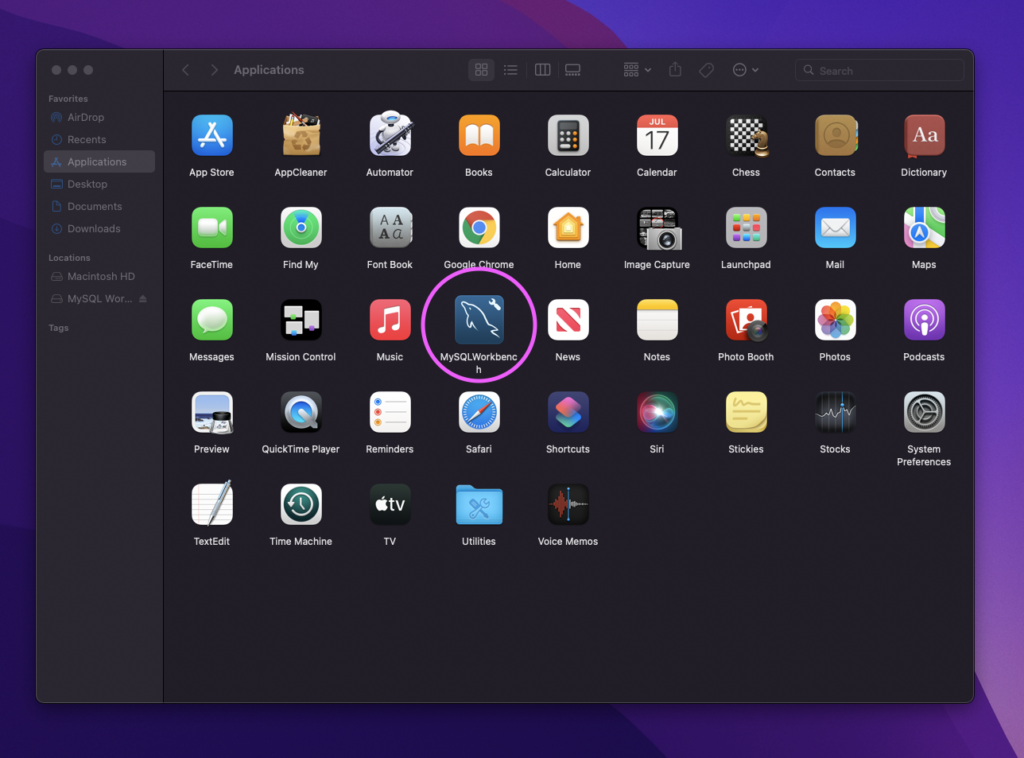
Once the MySQL Workbench is installed in your Applications folder, you should be seeing the MySQL Workbench incon in the Application folders. Double click to launch the app.
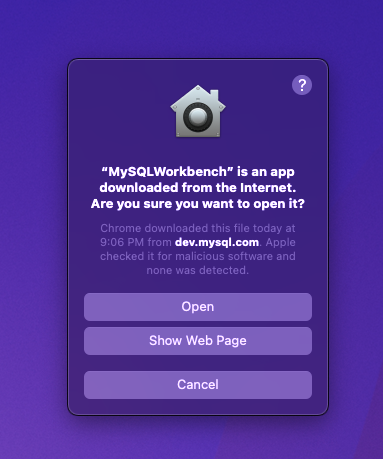
When you try to open the app, you might see the message below. Press OK.
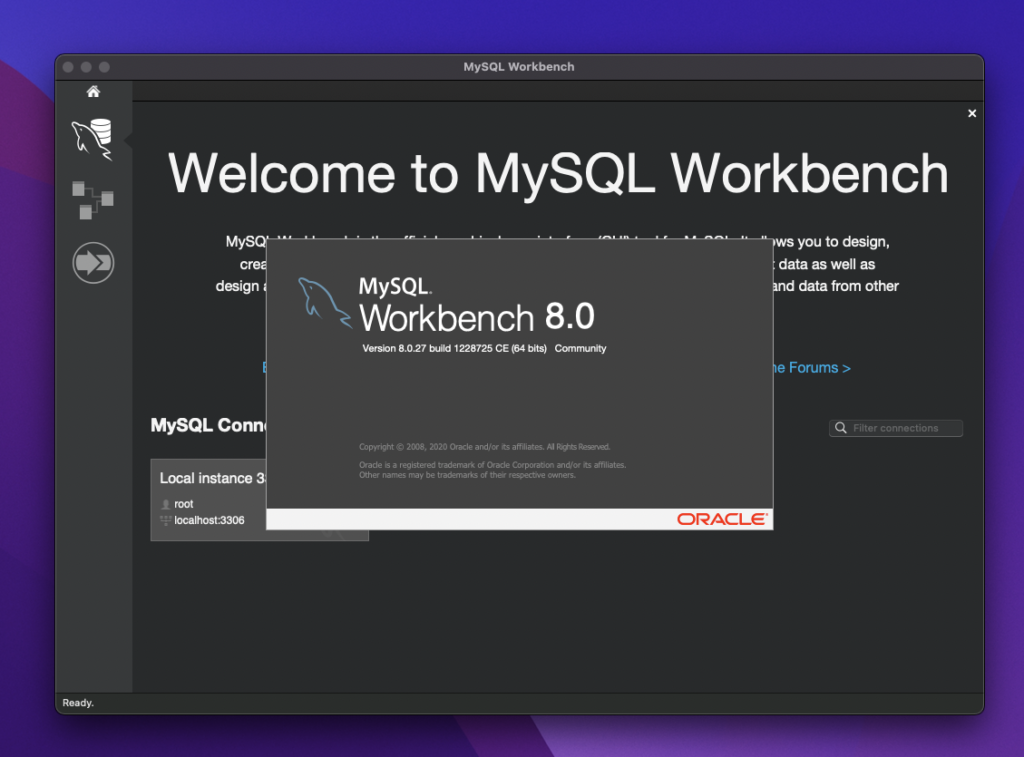
Once the MySQL Workbench is successfully installed, you should be able to launch and you can start using it.
How to use MySQL Workbench
There is a separate post I created explaining how to create schema and table using MySQL Workbench. Please refer to this blog post if you are interested to learn more how to use the MySQL Workbench.
Latest Posts
- How to convert MD (markdown) file to PDF using Pandoc on macOS Ventura 13
- How to make MD (markdown) document
- How to Install Docker Desktop on mac M1 chip (Apple chip) macOS 12 Monterey
- How to install MySQL Workbench on macOS 12 Monterey mac M1 (2021)
- How to install MySQL Community Server on macOS 12 Monterey (2021)