In this article it will walk you through on setting up the LAMP Stack which consists of Apache server, MySQL DB server and PHP on Ubuntu 18 Linux platform. This stack of setup is also known as LAMP (Linux, Apache, MySQL, PHP) If you have this basic LAMP stack, you can start a web development on the Linux platform.
Learn more about the Ubuntu and/or Linux system from these books.
Table of Contents
apt and Command Line
We will be using command line to install most of the services we are going to setup in this post. Be ready with the terminal and admin credentials. On Ubuntu Linux, there is a command called apt. We will use this command to install Apache server, MySQL server.
Using apt update
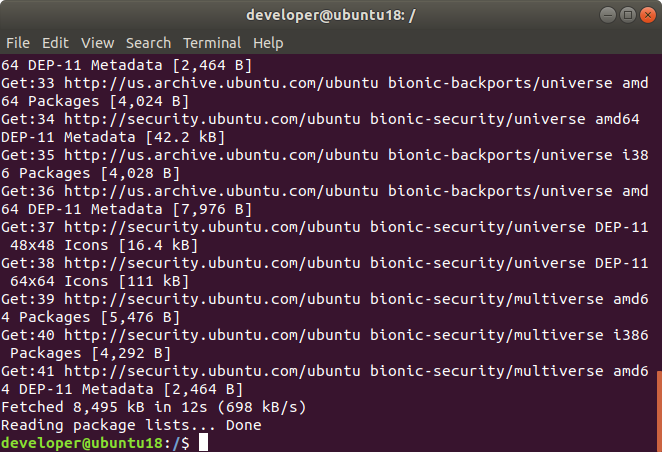
First thing you need to do is to update the list of servers where you can download the services you need. To update the list of servers, type the below command in the terminal and press enter.
sudo apt updateIt will ask for the admin’s password, so go ahead and enter your admin password and press enter. It will update the list of servers and you should see something like below once the update is done.
Setting Up the Apache Server
Let’s setup the Apache Server first. In the terminal, type the following command and press enter.
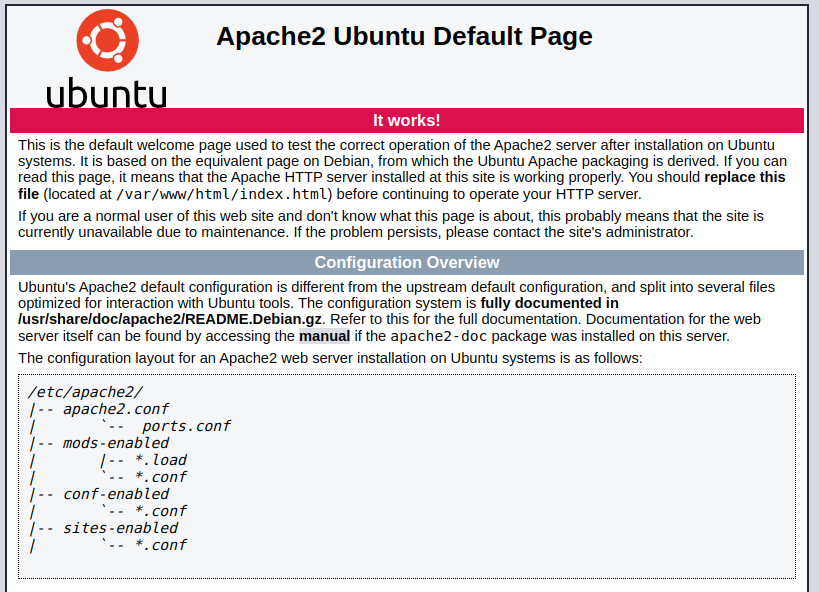
sudo apt install apache2Once the installation is done, open up the browser and type the following in the address bar:
http://localhost/When the installation is successful, you should see the Apache2 Ubuntu Default Page. You should also see you now have /var/www directory.
Setting up the MySQL Server
Install MySQL Server
In the terminal, type the following command and press enter.
sudo apt install mysql-serverCheck the status of MySQL server with below command.
sudo systemctl status mysqlConfigure the MySQL Server
Next is you need to setup a password for your MySQL root user. By default, MySQL root user has blank password which is you will not be able to access to MySQL server.
Run the below command in the terminal and press enter.
sudo mysql_secure_installationFollow the instruction in the terminal (but you can basically answer Y to all of the questions.
Setting up the PHP
Install PHP
To install PHP, in the terminal, type the following command and press enter.
sudo apt install php libapache2-mod-php php-mysqlCreate phpinfo() page
To test if your PHP is working on your system, create a phpinfo() page under /var/www/html and load it on the browser.
Open the terminal and type cd /var/www/html and press enter.
Type sudo nano phpinfo.php and press enter. This will bring you to nano editor within a terminal.
Put the following code:
<?php phpnfo(); ?>
Press Control + O and press enter to save the file.
Press Control + X to exit the nano editor.
Go to your browser and type the following in the address bar.
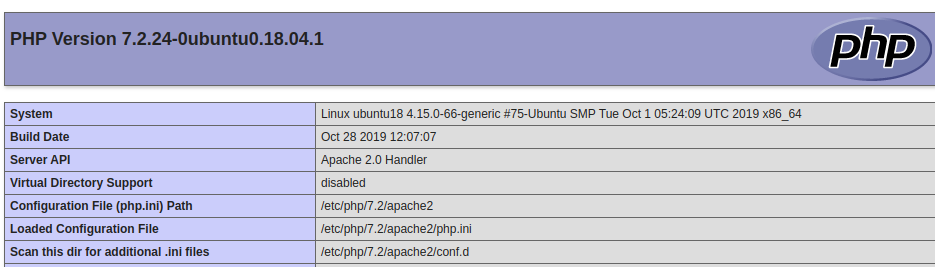
http://localhost/phpinfo.phpYou should see a page below if the PHP module is successfully activated.
MAMP Stack
Hope you have your LAMP stack setup properly. If you are using macOS, you can have a similar setup. See Setting Up Your Local Server on macOS Catalina (2019) – MAMP – macOS, Apache, MySQL, PHP
Latest Posts
- How to convert MD (markdown) file to PDF using Pandoc on macOS Ventura 13
- How to make MD (markdown) document
- How to Install Docker Desktop on mac M1 chip (Apple chip) macOS 12 Monterey
- How to install MySQL Workbench on macOS 12 Monterey mac M1 (2021)
- How to install MySQL Community Server on macOS 12 Monterey (2021)