In How to setup Apache MySQL PHP on Ubuntu 18 Linux (2019) post, I covered the setup of MySQL server. (along with the setup of Apache and PHP as part of LAMP stack). Now you have MySQL installed on Ubuntu Linux, having GUI tool is very helpful to manage your database and tables. MySQL has a GUI tool called MySQL Workbench for Linux. (If you are using macOS, see Using MySQL Workbench on macOS Catalina (2019) In this post, I will cover on using MySQL Workbench on Ubuntu 18 Linux platform.
Table of Contents
What is MySQL Workbench
MySQL Workbench is development, administration and data modeling tool for MySQL. Besides editing and running SQL queries and scripts, it supports the design of MySQL databases through a EER diagram, which is then used to generate SQL scripts. Workbench also supports migration from many RDBMS products to MySQL.
https://www.mysql.com/products/workbench/
Configuring MySQL Workbench
In this post, we will be using local MySQL Server. If you have not set up MySQL server yet, see the How to setup Apache MySQL PHP on Ubuntu 18 Linux (2019)
Installing MySQL Workbench
The easiest way to install the MySQL Workbench on Ubuntu system is via command line using apt command.
Type the below command in terminal to update the apt hosts.
sudo apt updateType the below command to start installing the MySQL Workbench.
sudo apt install mysql-workbenchLaunch MySQL Workbench
You can launch the MySQL Workbench via command line by typing below command in the terminal and press enter.
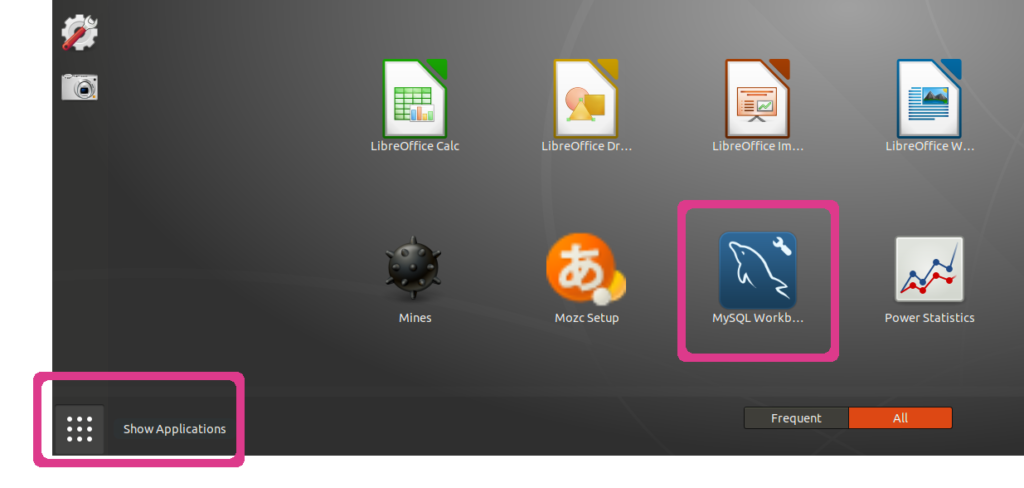
mysql-workbenchOr you can go to Application and double click the MySQL Workbench app.
Configure Connection to localhost Database
Once MySQL Workbench is launched, connect to the localhost’s database.
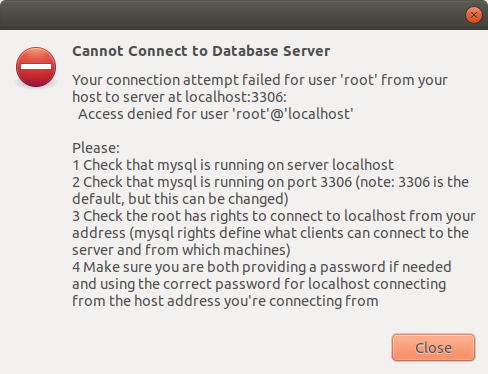
Note: If you try to access to localhost as a root user, you might get an error like below:
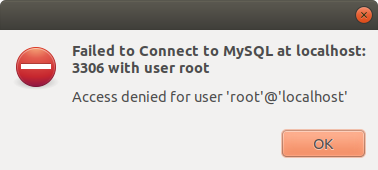
Or a message like:
Failed to Connec to MySQL at localhost:3306 with user root
Access denied for user ‘root’@’localhost’
This is due to security reason, root user has no password set by default.
Solution for this is to create a new user such as admin and access to localhost as an admin user.
Follow the below steps to create an admin user.
Open terminal and type the below and press enter.
sudo mysql -u rootOnce you are in the MySQL console, you should see the prompt sign of mysql>.
Type the below command and press enter.
CREATE USER 'admin'@'localhost' IDENTIFIED BY 'Password!@#123';GRANT ALL PRIVILEGES ON *.* TO 'admin'@'localhost' WITH GRANT OPTION;Then exit the MySQL console by typing exit and press enter.
mysql> exitConnect to localhost database
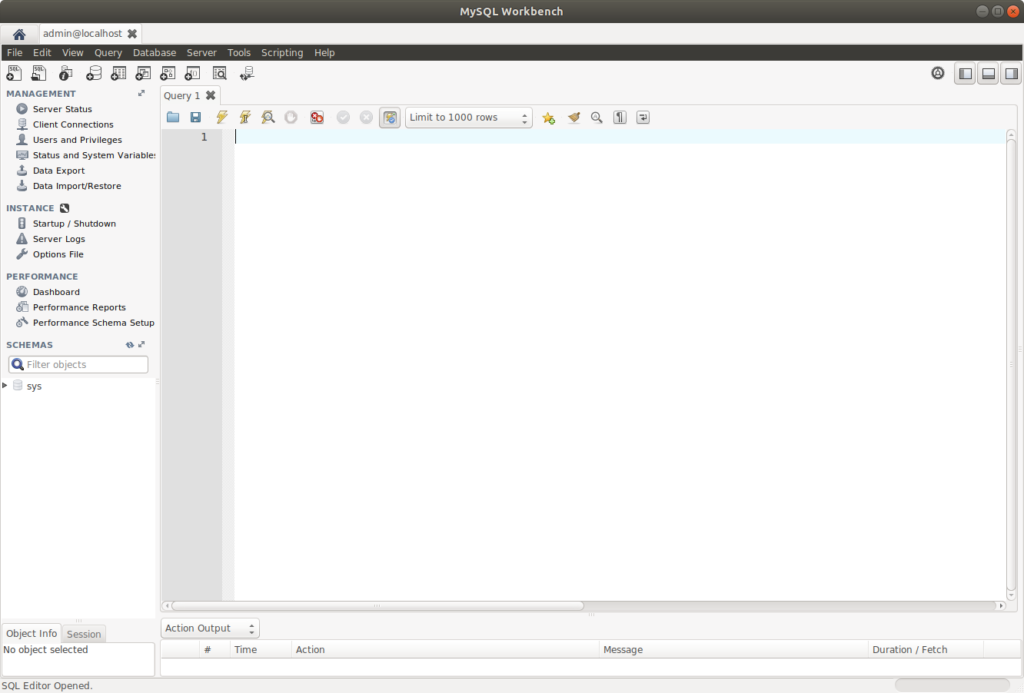
Now you have a new user ‘admin’, we will use ‘admin’ to connect to the localhost MySQL server. Go back to MySQL Workbench’s main window. You can either use the existing connection and modify the username or create a new connection. Make sure to use the admin user’s credentials.
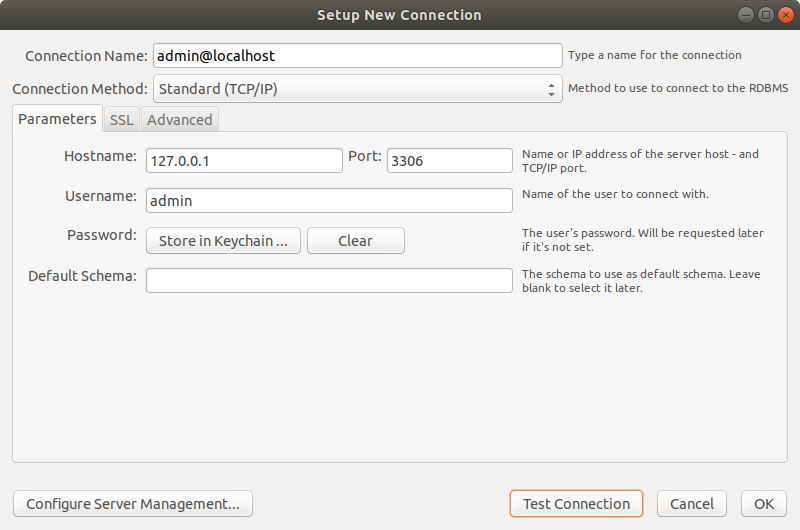
If you have successfully connected, you will see the window something like below:
Create Database, Table and Records
If you want to create a database, table and records, see Using MySQL Workbench on macOS Catalina (2019) where I wrote a post with example of how to do it.
Latest Posts
- How to convert MD (markdown) file to PDF using Pandoc on macOS Ventura 13
- How to make MD (markdown) document
- How to Install Docker Desktop on mac M1 chip (Apple chip) macOS 12 Monterey
- How to install MySQL Workbench on macOS 12 Monterey mac M1 (2021)
- How to install MySQL Community Server on macOS 12 Monterey (2021)